Jen
Creative Chick  Admin
Admin
Posts: 8,309 
|
Post by Jen on Nov 22, 2010 14:55:06 GMT -6
Here's a short and simple tutorial for making an old photo signature.  |
|
Jen
Creative Chick
Admin
Posts: 8,309
|
Post by Jen on Nov 22, 2010 14:55:43 GMT -6
START with a new file. Open the photo you'd like to use in your signature and bring it into the new file. Reduce/enlarge the photo until it's at the size you want. Take the crop tool and click in the top left corner, drag to the bottom right corner and release. Double click inside the bounding box around your photo to apply the crop. 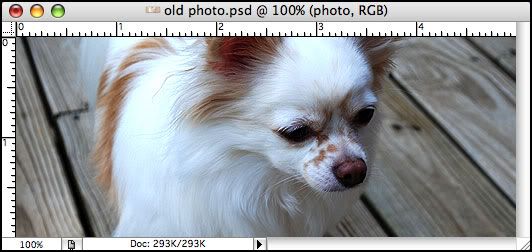 Delete Layer 1. Name your photo's layer photo. Apply the lock position lock to this layer. 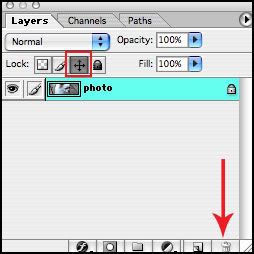
|
|
Jen
Creative Chick
Admin
Posts: 8,309
|
Post by Jen on Nov 22, 2010 14:56:09 GMT -6
Apply an inner shadow effect to the photo layer. Use the settings below. To change the color click the color box in the Layer Style window. To change the Contour click the arrow next to the one showing in the Layer Style window. To see the name of a contour let your cursor hover over it. 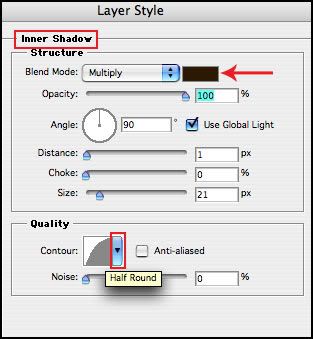 |
|
Jen
Creative Chick
Admin
Posts: 8,309
|
Post by Jen on Nov 22, 2010 14:56:36 GMT -6
Apply a gradient overlay to the photo layer. Use the settings below. To choose a gradient click the arrow next to the one showing in the Layer Style window. 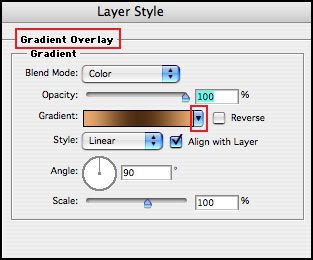 |
|
Jen
Creative Chick
Admin
Posts: 8,309
|
Post by Jen on Nov 22, 2010 14:57:01 GMT -6
Apply a pattern overlay to the photo layer. Use the settings below. To see the name of a pattern let your cursor hover over it. After you've selected the Black Marble pattern as long as you have the Layer Style window open you can go to your file and click and drag to move the pattern around. 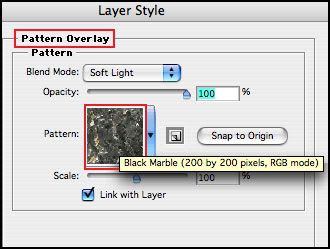 |
|
Jen
Creative Chick
Admin
Posts: 8,309
|
Post by Jen on Nov 22, 2010 14:57:22 GMT -6
Use the type tool to add your text. 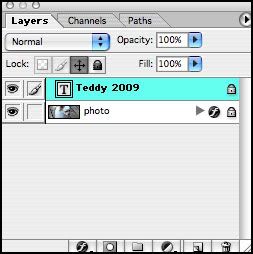 And you're done. To save this signature use the save as a jpg in Photoshop setting found here, My settings. |
|


