Jen
Creative Chick  Admin
Admin
Posts: 8,309 
|
Post by Jen on Oct 1, 2009 23:06:15 GMT -6
Here's how you can easily modify your existing shapes that come with Photoshop to make new ones. If you don't see that many shapes loaded in the custom shapes window check out this thread, Custom Shape Tool. |
|
Jen
Creative Chick
Admin
Posts: 8,309
|
Post by Jen on Oct 1, 2009 23:06:52 GMT -6
Start with a new file 2" x 2" at 100 ppi with a transparent background. Choose your custom shape tool from the toolbox.  And use these settings in the options bar. To choose the shape click on the one that's showing in your options bar, which would be the heart in this picture. From the shapes window that pops up click on a shape to choose it.  |
|
Jen
Creative Chick
Admin
Posts: 8,309
|
Post by Jen on Oct 1, 2009 23:07:16 GMT -6
Click and drag to make your shape. If you hold the shift key while you click and drag your shape will be in proportion. You'll see in your Paths palette you just made a Work Path. 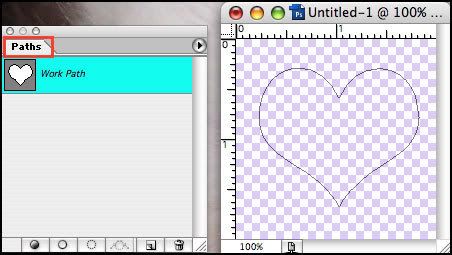 |
|
Jen
Creative Chick
Admin
Posts: 8,309
|
Post by Jen on Oct 1, 2009 23:07:37 GMT -6
Now click and drag to make the inner shape. Use the space bar while you're clicking and dragging to move it where you want. 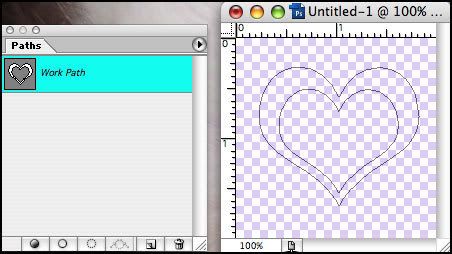 |
|
Jen
Creative Chick
Admin
Posts: 8,309
|
Post by Jen on Oct 1, 2009 23:08:14 GMT -6
Choose Edit>Define Custom Shape... 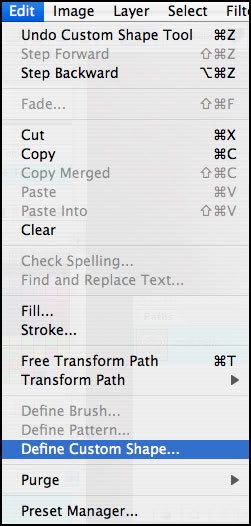 Name your new shape.  |
|
Jen
Creative Chick
Admin
Posts: 8,309
|
Post by Jen on Oct 1, 2009 23:08:52 GMT -6
Click on the shape that's showing in the options bar...  ...and you'll see your new shape has been added to your custom shapes. If you hold your cursor over a shape a tiny window with its name will pop up. 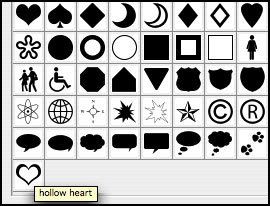 |
|
Jen
Creative Chick
Admin
Posts: 8,309
|
Post by Jen on Oct 1, 2009 23:09:28 GMT -6
And here is my new custom shape. 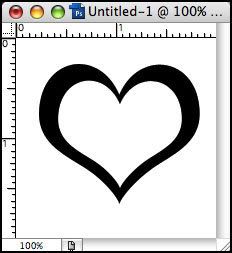 |
|
Jen
Creative Chick
Admin
Posts: 8,309
|
Post by Jen on Oct 1, 2009 23:10:21 GMT -6
Replies #7-10 are based on the following settings in the options bar. The shape used is your choice. Things to remember when you're modifying your custom shapes. After you make your first shape, which would be the circle in this picture, all the shapes you add by clicking and dragging that are totally contained within a shape... 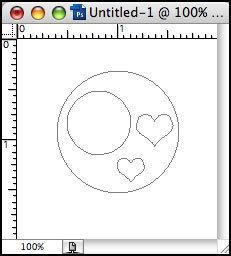 ...will show like this, deleting from the original shape. 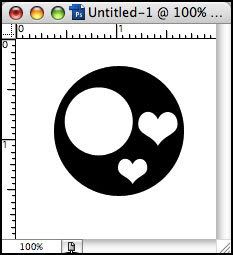 |
|
Jen
Creative Chick
Admin
Posts: 8,309
|
Post by Jen on Oct 1, 2009 23:10:57 GMT -6
After you make your first shape, which would be the circle in this picture, all the shapes you add by clicking and dragging that are overlapping a shape... 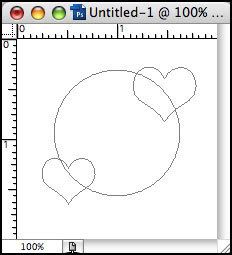 ...will show like this. Places where the shapes overlap will delete from the original shape and the outer parts will be added to the original shape. 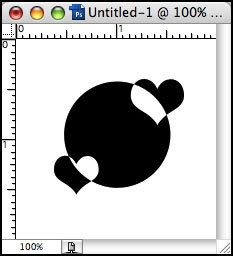 |
|
Jen
Creative Chick
Admin
Posts: 8,309
|
Post by Jen on Oct 1, 2009 23:11:35 GMT -6
After you make your first shape, which would be the circle in this picture, if you hold the option key for Macs and the alt key for Windows before you click and drag your cursor will change to a plus and minus sign, lower right corner of the picture. Now if you add your shapes while holding the appropriate key... 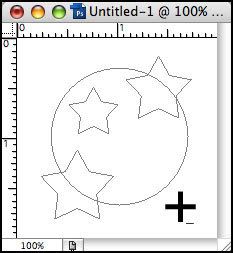 ...shapes that are totally contained within the original shape as well as parts of shapes that overlap will delete from the original shape. The parts that don't overlap disappear. This is because you're subtracting from the original shape. 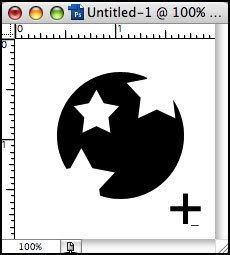 |
|


