Jen
Creative Chick  Admin
Admin
Posts: 8,309 
|
Post by Jen on Jan 18, 2010 16:15:40 GMT -6
Here's the signature we'll be making. 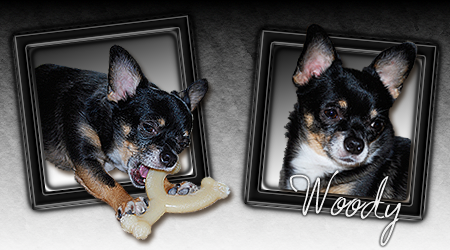 |
|
Jen
Creative Chick
Admin
Posts: 8,309
|
Post by Jen on Jan 19, 2010 14:38:27 GMT -6
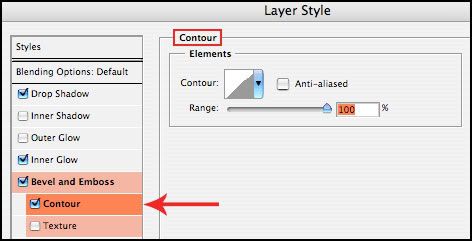
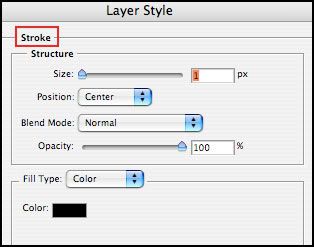
START With A New File. The only difference is the width is 4.5" and the height is 2.5". Select the gradient tool from the toolbox. Click on the gradient showing in the options bar and choose the Black, White gradient from the pop up window. Go to your file. Click at the top of your file, drag down and then release at the bottom. Name Layer 1 back grad. 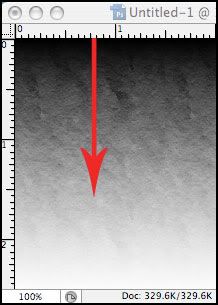 Apply a pattern overlay to the back grad layer using the settings below. To select the pattern click on the one showing in the Layer Style window. In the pop up window let your cursor hover over a pattern to see its name. 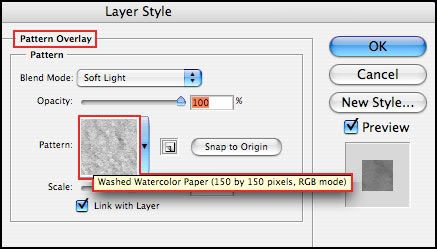
|
|
Jen
Creative Chick
Admin
Posts: 8,309
|
Post by Jen on Jan 19, 2010 14:48:50 GMT -6
|
|
Jen
Creative Chick
Admin
Posts: 8,309
|
Post by Jen on Jan 19, 2010 14:56:53 GMT -6
|
|
Jen
Creative Chick
Admin
Posts: 8,309
|
Post by Jen on Jan 19, 2010 15:04:51 GMT -6
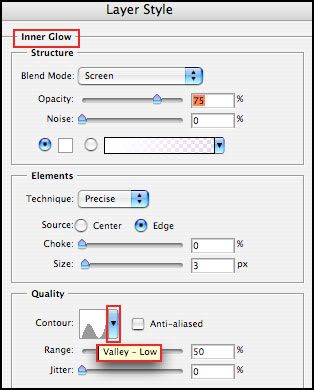
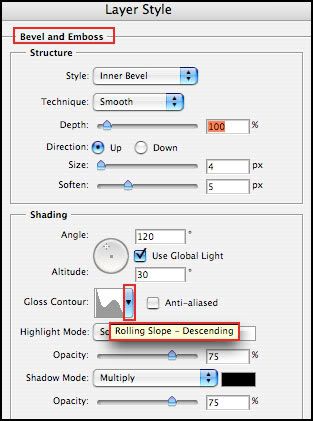
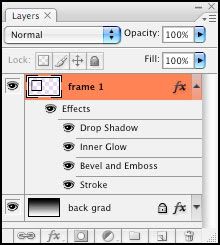
In the layers palette click on the frame 1 layer. Select the magic wand and click down in the center of the frame. 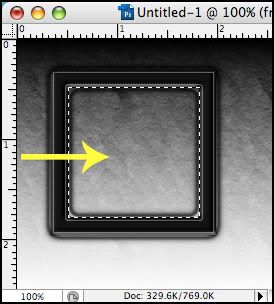 Add a new layer and name it frame 1 back. Put this layer under the frame 1 layer in the layers palette. With the frame 1 back layer as the active layer in the layers palette, fill the selection with any color. Deselect. Apply a gradient overlay to the frame 1 back layer using the settings below. To select the gradient click on the one showing in the Layer Style window and then choose the Black, White gradient from the pop up window. 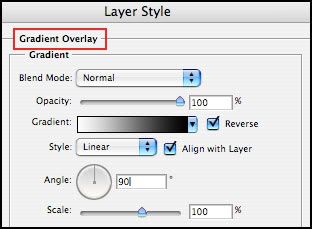 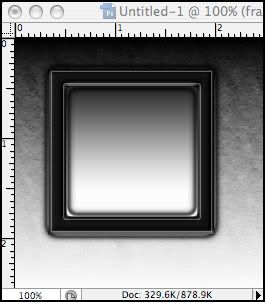 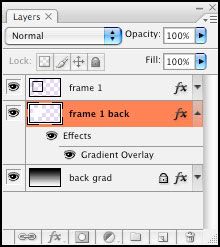 |
|
Jen
Creative Chick
Admin
Posts: 8,309
|
Post by Jen on Jan 19, 2010 15:28:19 GMT -6
Open the file of the subject you want to put in the frame. For me it was a photo of my Chihuahua. Remove your subject from the photo. There are a number of ways you can do this. One is using the extract filter. Another way would be to use the pen tool. And yet another way would be to use quick mask mode. What I did was take the lasso tool and drag around my Chihuahua so he had a selection around him. Then I chose Select>Modify>Smooth>1. Then Select>Modify>Feather>1. Then I selected Layer>New>Layer via Copy. Once your subject has been removed from the photo bring it into your signature's file. Name the layer whatever you'd like. I named mine Woody (subject). Place this layer at the very top in the layers palette. If your subject needs to be reduced/enlarged so it's at the right size for your frame, do that now. You might want to lower the opacity of your subject's layer so it's easier to see. 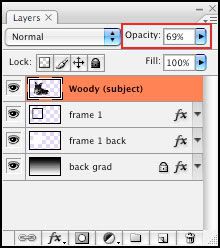 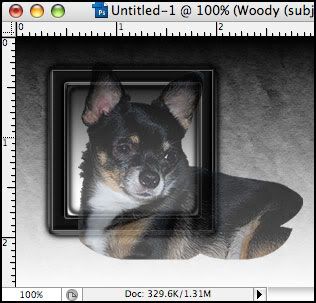 |
|
Jen
Creative Chick
Admin
Posts: 8,309
|
Post by Jen on Jan 19, 2010 15:53:59 GMT -6
Once your subject is at the correct size for your frame use the move tool to position your subject. When done put its layer's opacity back to 100% if you lowered it. Click on the frame 1 layer in the layers palette. Select the magic wand and click in the center of the frame.  You're now going to add to the selection using the lasso tool. Select the lasso tool from the toolbox. Hold the shift key and drag around any areas of your subject that you want to go outside the frame. For me it was my Chihuahua's ears. 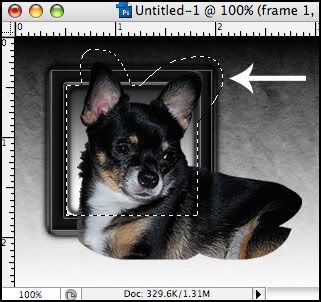 Now choose Select>Inverse from the menu bar. 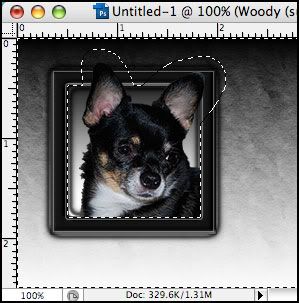 Click on your subject's layer, for me that's my Woody (subject) layer. 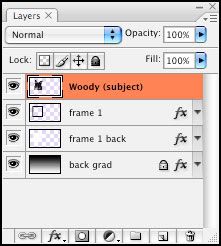 Choose delete. Deselect. If you look at the first photo in this post you'll see my Chihuahua is totally contained within the signature. If your subject was so large that any part of it went beyond your signature then take the crop tool and starting at the top left corner of your signature, click down and drag to the bottom right corner of your signature. Now double click inside your signature to apply the crop. The reason you crop the image is in the next post you'll be applying a drop shadow to your subject. The shadow is applied to the entire layer which includes any parts of your subject outside your signature that you don't currently see. If you hadn't cropped the image the shadow wouldn't have shown correctly on the part of your subject in the frame. |
|
Jen
Creative Chick
Admin
Posts: 8,309
|
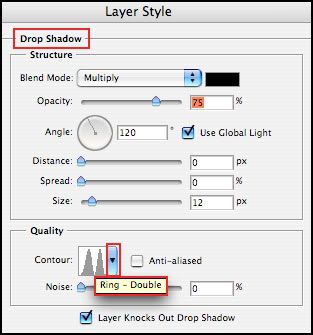
Post by Jen on Jan 19, 2010 16:11:56 GMT -6
Click on your subject's layer, for me that's my Woody (subject) layer, and apply a drop shadow effect to it using the settings below. 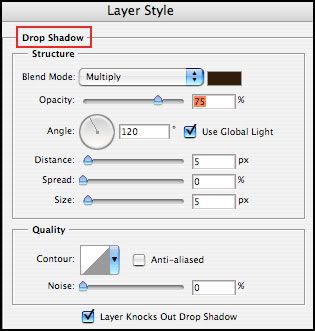 |
|
Jen
Creative Chick
Admin
Posts: 8,309
|
Post by Jen on Jan 19, 2010 16:18:31 GMT -6
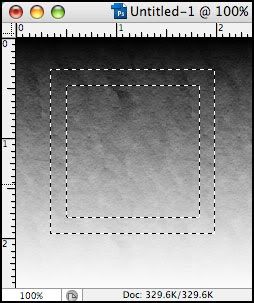
If you look closely you'll see there will be sections of your subject that cover the inner shadow of the frame. 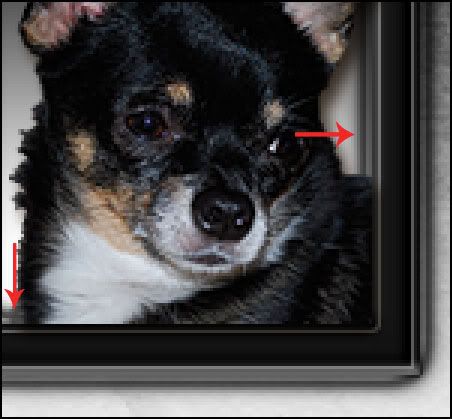 Just take the rectangular marquee tool and make a selection around these areas. 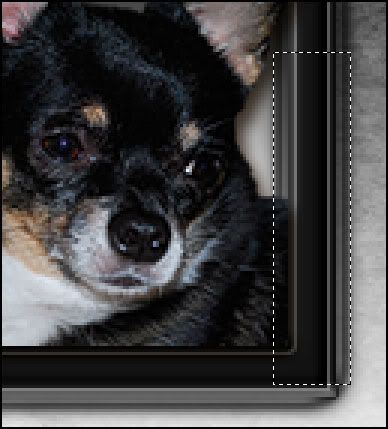 Click on your subject's layer in the layers palette and choose delete. 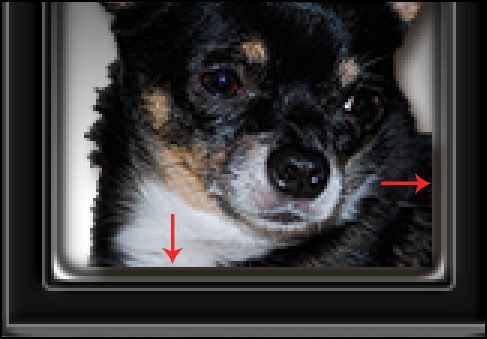 |
|
Jen
Creative Chick
Admin
Posts: 8,309
|
Post by Jen on Jan 19, 2010 16:23:33 GMT -6
Make a copy of the frame 1 layer and name it frame 2. Put the frame 2 layer under the frame 1 back layer. Make a copy of the frame 1 back layer and name it frame 2 back. Put the frame 2 back layer under the frame 2 layer. Link the frame 2 and frame 2 back layers and then drag them to the right of your signature using the move tool. 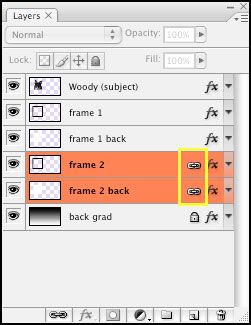 Repeat the steps in replies #5 - #8 above in order to add a subject to frame 2. |
|