Jen
Creative Chick  Admin
Admin
Posts: 8,309 
|
Post by Jen on Oct 1, 2009 13:49:01 GMT -6
Once you know how to use The Pen Tool you can use it as yet another way of removing objects from photos. This is the picture I will be using... 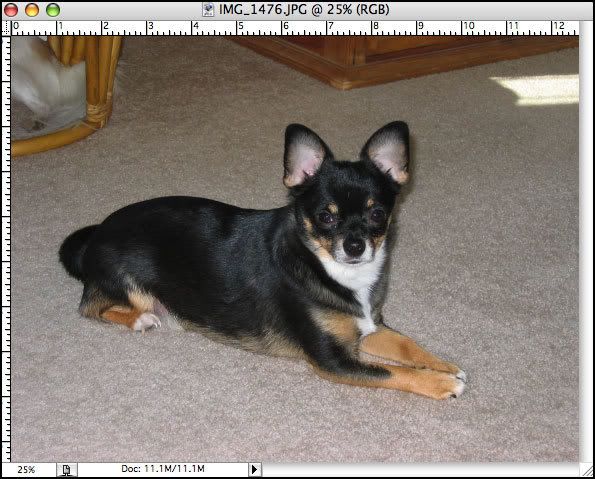 |
|
Jen
Creative Chick
Admin
Posts: 8,309
|
Post by Jen on Oct 1, 2009 13:49:25 GMT -6
First I took the pen tool and made a somewhat rough path around him. When I made my path I used the zoom tool to enlarge the image quite a bit. This makes it much easier to create an accurate path. 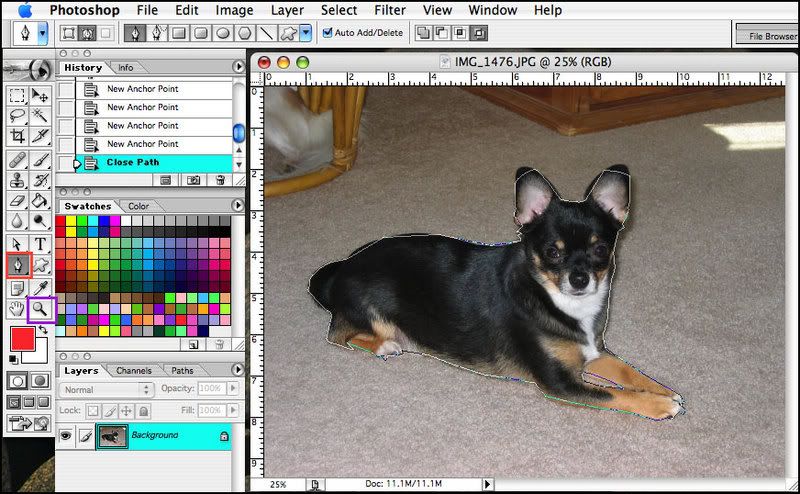 |
|
Jen
Creative Chick
Admin
Posts: 8,309
|
Post by Jen on Oct 1, 2009 13:49:50 GMT -6
Then I took the direct selection tool and cleaned up my path. Again I used the zoom tool to enlarge my image while doing this. For this tutorial I keep the path pretty smooth and didn't go into too much detail with some of his fur for example the tail area. 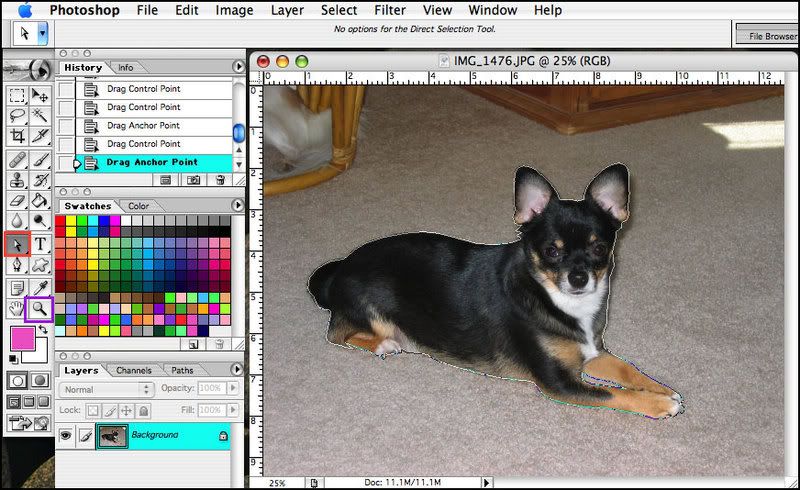 |
|
Jen
Creative Chick
Admin
Posts: 8,309
|
Post by Jen on Oct 1, 2009 13:50:10 GMT -6
Now to make my Background a layer I double clicked where the purple box is in the layers palette. The New Layer window popped up and I clicked ok. 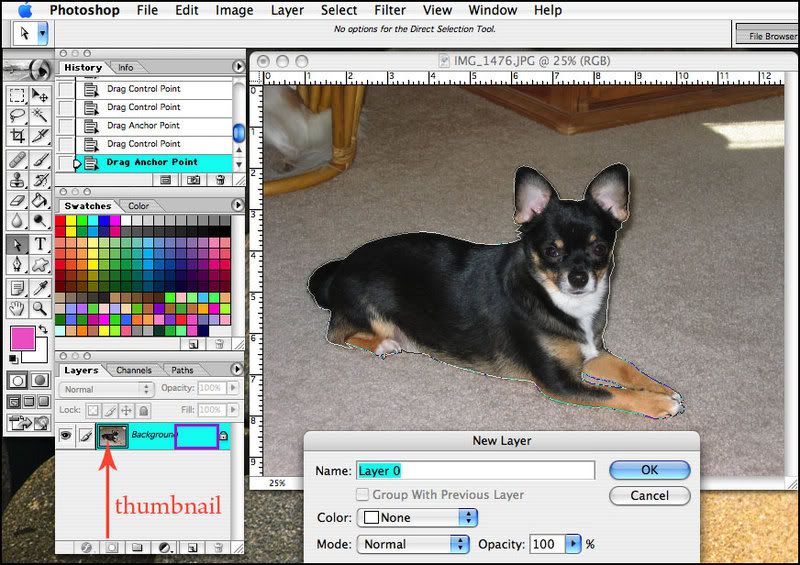 |
|
Jen
Creative Chick
Admin
Posts: 8,309
|
Post by Jen on Oct 1, 2009 13:50:31 GMT -6
Then at the paths palette I clicked the tiny arrow in the corner and chose Save Path... From the Save Path window I named the path woody and clicked ok. 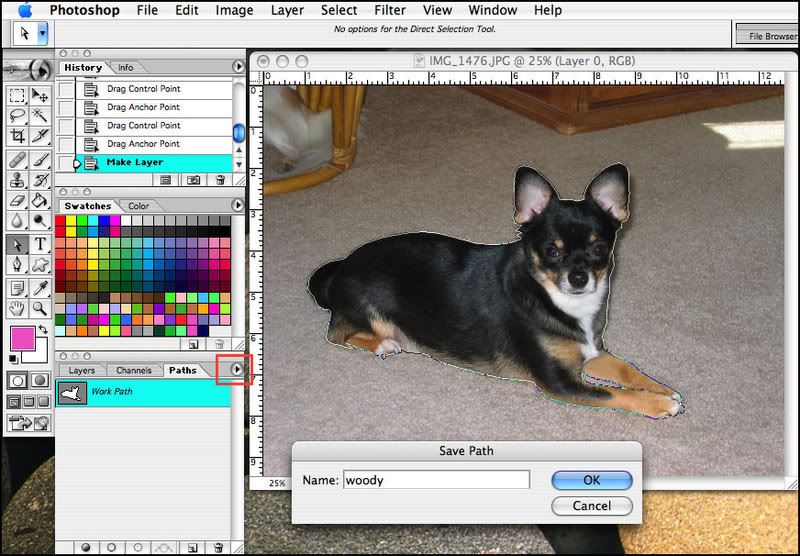 |
|
Jen
Creative Chick
Admin
Posts: 8,309
|
Post by Jen on Oct 1, 2009 13:51:01 GMT -6
Then I clicked the Load Path As A Selection button outlined in red in the paths palette. When I did that my path was turned off like you see in the picture. 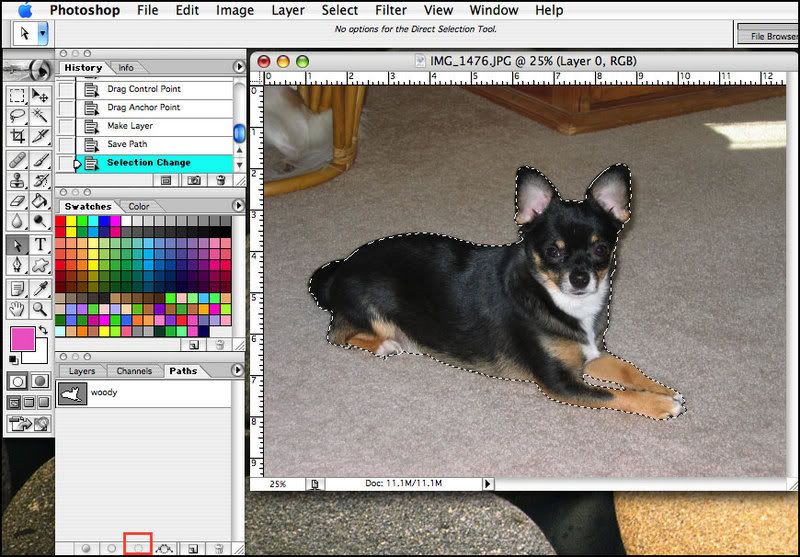 |
|
Jen
Creative Chick
Admin
Posts: 8,309
|
Post by Jen on Oct 1, 2009 13:51:24 GMT -6
I went back to my layers palette and chose Layer>New>Layer via Cut from the menu bar. You could also chose Layer>New>Layer via Copy so as to keep your original picture intact. 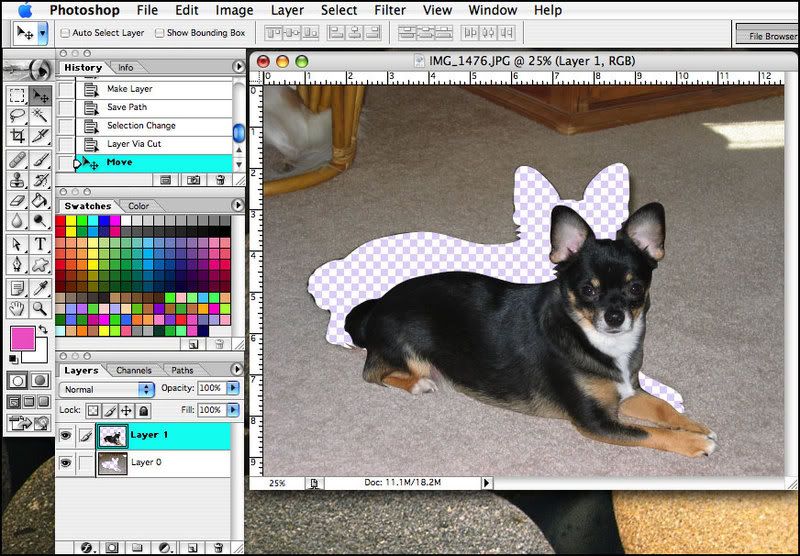 |
|
Jen
Creative Chick
Admin
Posts: 8,309
|
Post by Jen on Oct 1, 2009 13:51:49 GMT -6
And here's Woody removed from my picture... 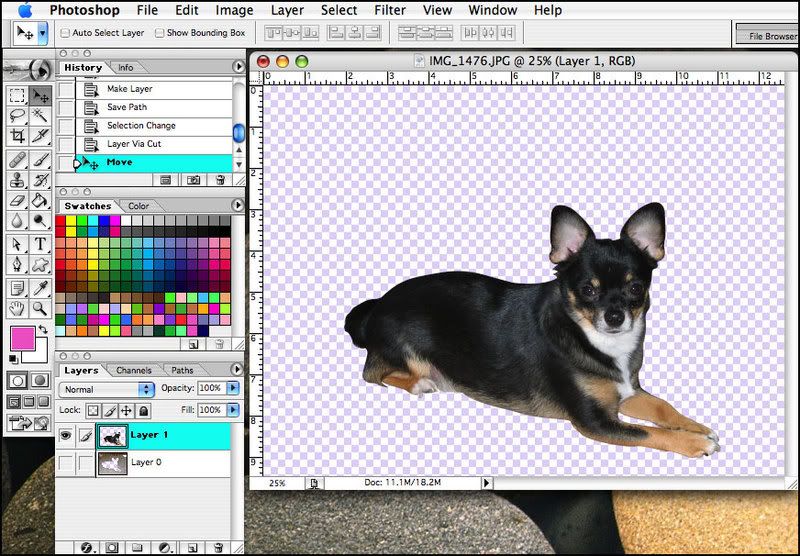 |
|


