Jen
Creative Chick  Admin
Admin
Posts: 8,309 
|
Post by Jen on Oct 1, 2009 14:00:43 GMT -6
You can make a simple decorative border using the custom shape tool and applying a drop shadow.  |
|
Jen
Creative Chick
Admin
Posts: 8,309
|
Post by Jen on Oct 1, 2009 14:01:06 GMT -6
This is the picture I used. I clicked and dragged where the arrow is pointing to extend my file. 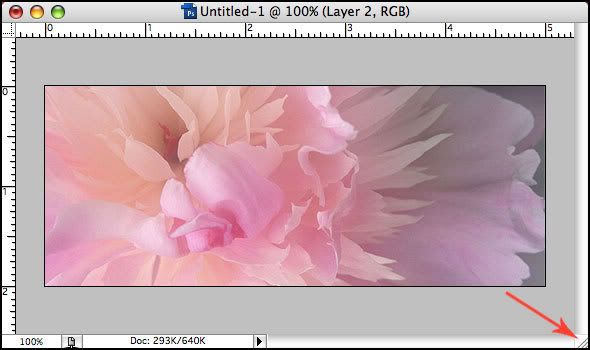 |
|
Jen
Creative Chick
Admin
Posts: 8,309
|
Post by Jen on Oct 1, 2009 14:01:27 GMT -6
With the Custom Shape Tool I made different shapes around the border. What you see in the picture is a Work Path. 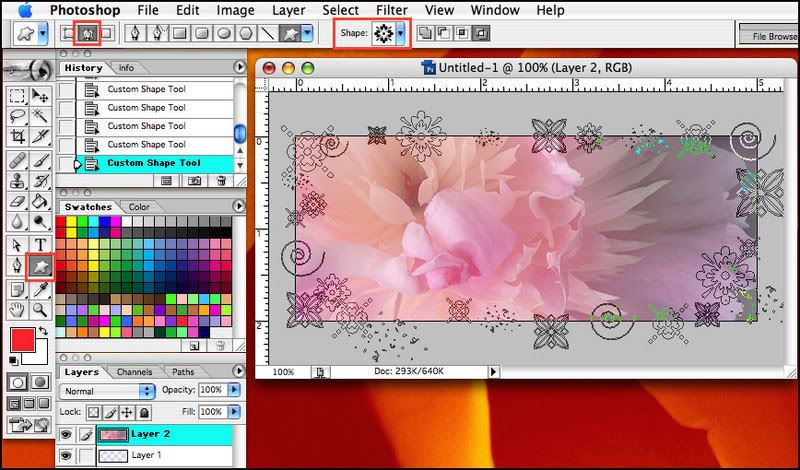 |
|
Jen
Creative Chick
Admin
Posts: 8,309
|
Post by Jen on Oct 1, 2009 14:01:49 GMT -6
When I go to my paths palette you can see the Work Path. To load the path as a selection click where I have added a red outline at the bottom of the paths palette. 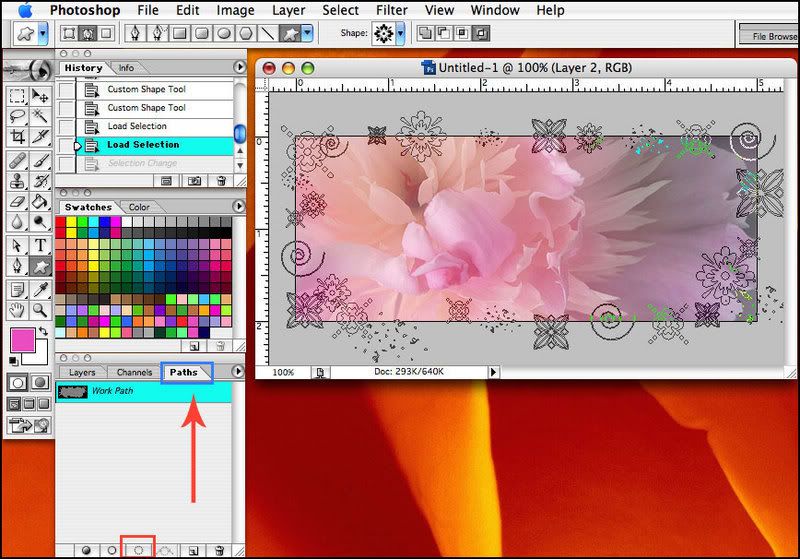 When you do that you will see your shapes become a selection and the Work Path is turned off. 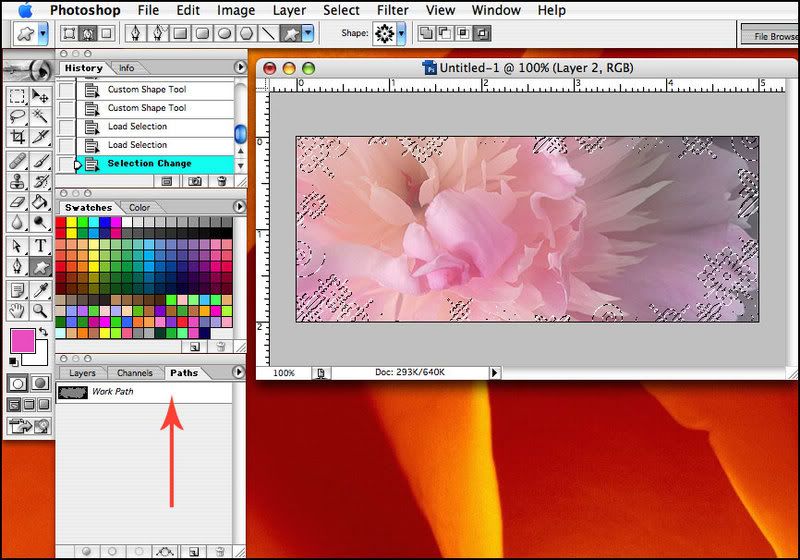 |
|
Jen
Creative Chick
Admin
Posts: 8,309
|
Post by Jen on Oct 1, 2009 14:03:02 GMT -6
I made a copy of the flower's layer and turned it off. I made a copy in case later I decided I didn't like the shapes and wanted to start over. Then with my original picture as the active layer I clicked delete then deselected that selection. 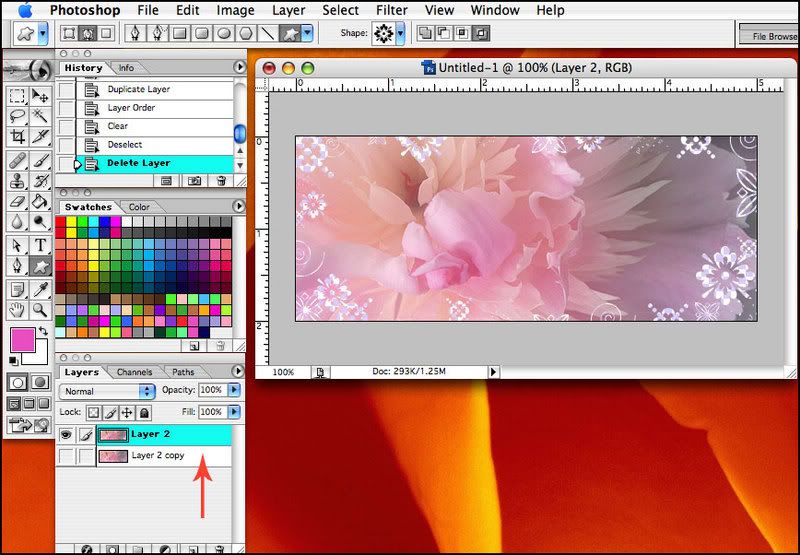 |
|
Jen
Creative Chick
Admin
Posts: 8,309
|
Post by Jen on Oct 1, 2009 14:03:25 GMT -6
I made a new layer naming it white and then filled it with white. Then I applied a Drop Shadow to the flower layer. To do that click the tiny f in a circle at the bottom of the layers palette. When the window popped up I clicked in the colored rectangle the purple arrow is pointing to and the Color Picker window popped up. Then I went to the flower in my file and started sampling colors by clicking down on the picture until I found one I liked. Then I went to the Color Picker window and dragged the white circle to make the color slightly darker than the one I sampled. 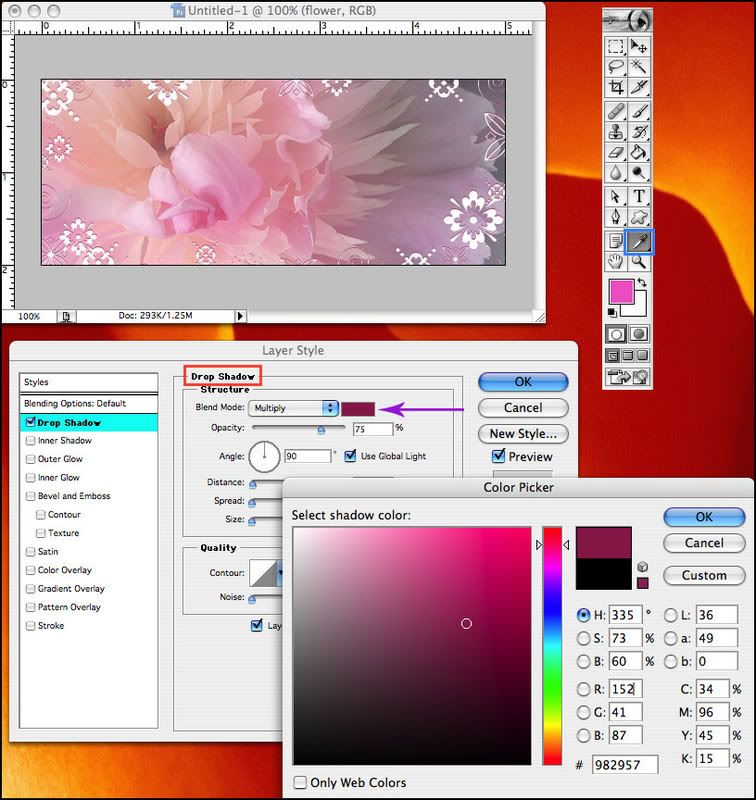 |
|
Jen
Creative Chick
Admin
Posts: 8,309
|
Post by Jen on Oct 1, 2009 14:04:05 GMT -6
Here are two different settings you can try with the Drop Shadow. I used the second one. 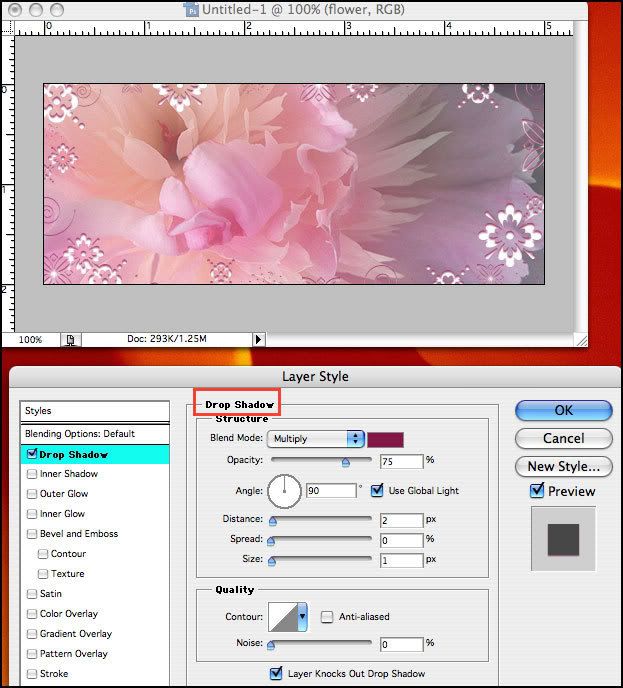 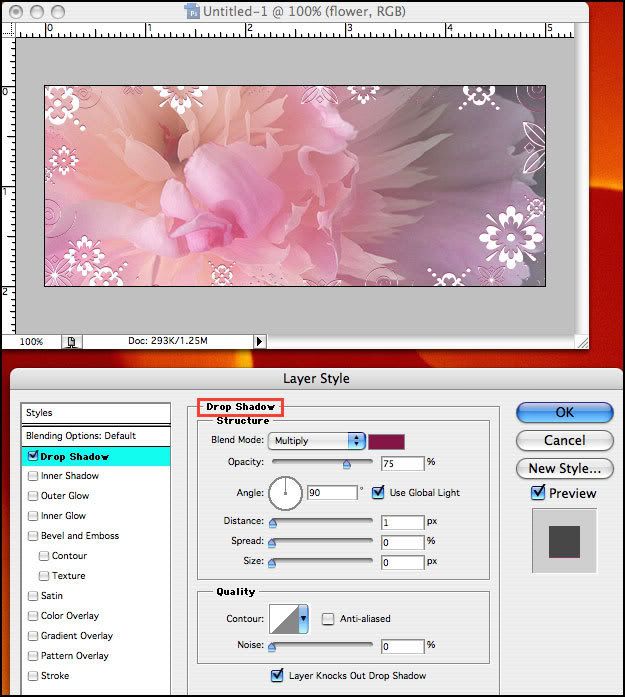 |
|
Jen
Creative Chick
Admin
Posts: 8,309
|
Post by Jen on Oct 1, 2009 14:04:29 GMT -6
I made a new layer and took the Eyedropper from the toolbox, has a red outline, and sampled some colors from my picture. When I found one I liked I filled the layer with it and named this layer pink. If you prefer the white you don't need to make a new color layer. 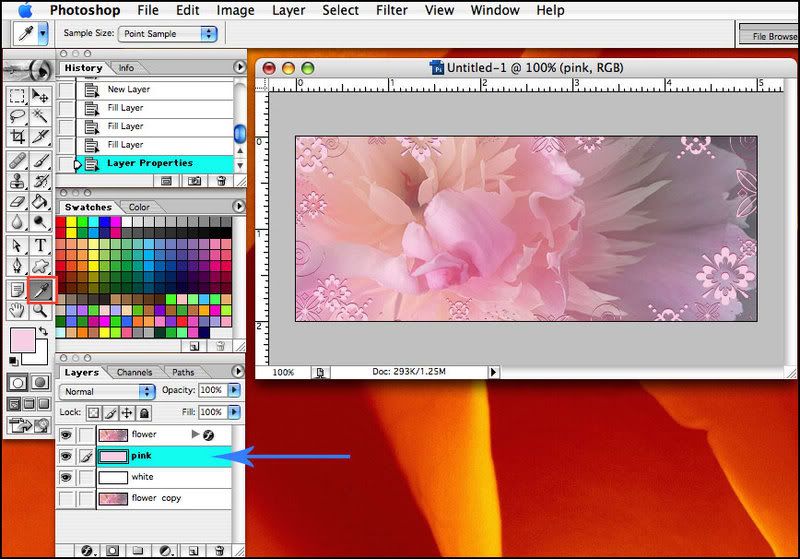 |
|
Jen
Creative Chick
Admin
Posts: 8,309
|
Post by Jen on Oct 1, 2009 14:05:15 GMT -6
I decided I wanted to add some more custom shapes. After I added a few butterflies I went to my Work Path in the paths palette. You will notice that because I didn't save the first Work Path it has been replaced with this new one. To save the first Work Path you would click the arrow in the top right corner of the palette and choose Save Path... where you would name and save the path. When I was happy with the butterflies I clicked where I have added a red outline at the bottom of the palette to make them a selection. 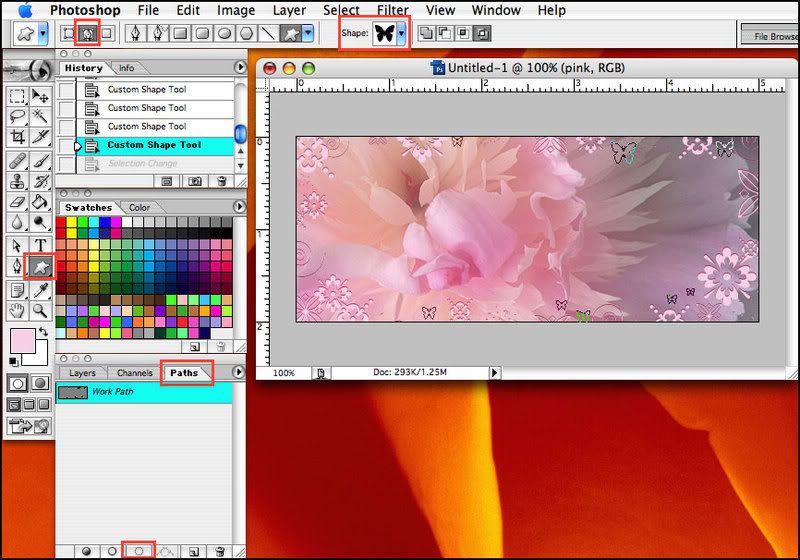 Then I went back to the layers palette and made sure the flower was the active layer and clicked delete. Deselect that selection and you are done. 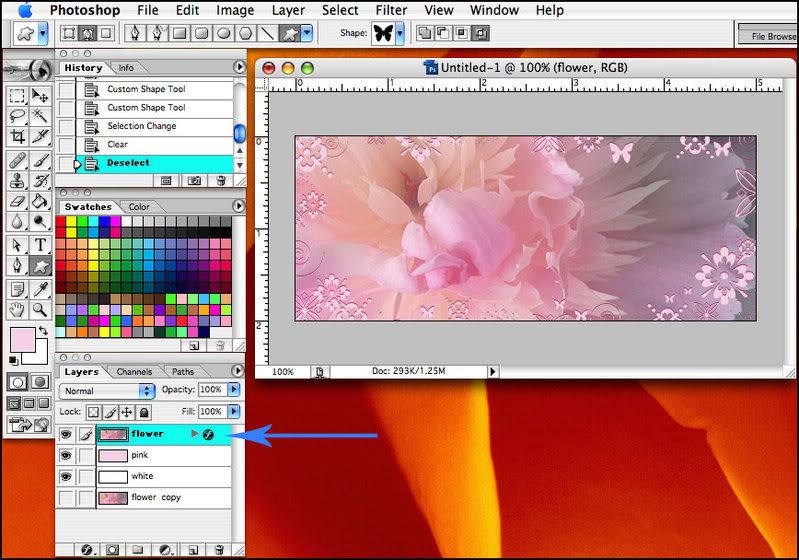 |
|


