Jen
Creative Chick  Admin
Admin
Posts: 8,309 
|
Post by Jen on Oct 4, 2009 10:29:25 GMT -6
At this point if I want a symmetrical character I pick the side I like best and make a selection around it with the rectangular marquee tool. I choose Layer>New>Layer via Cut. Then I throw away the layer with the half I'm not going to use. Make a copy of the half you kept. With the copy as the active layer choose Edit>Transform>Flip Horizontal. Use the move tool to drag the copy over. Once in place link and merge the two layers. 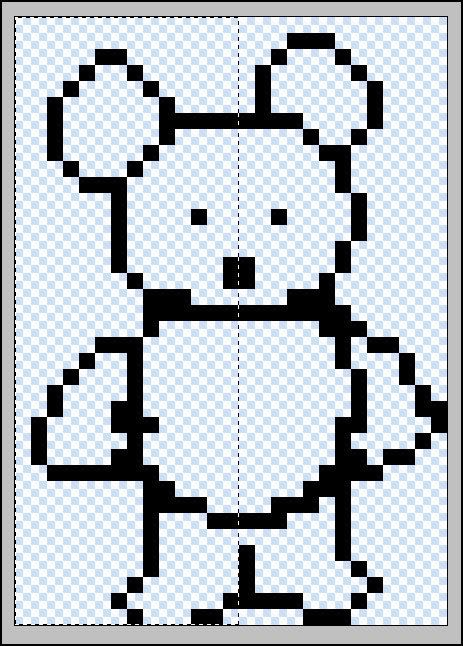 |
|
Jen
Creative Chick
Admin
Posts: 8,309
|
Post by Jen on Oct 4, 2009 10:30:06 GMT -6
Here's how my character looks. 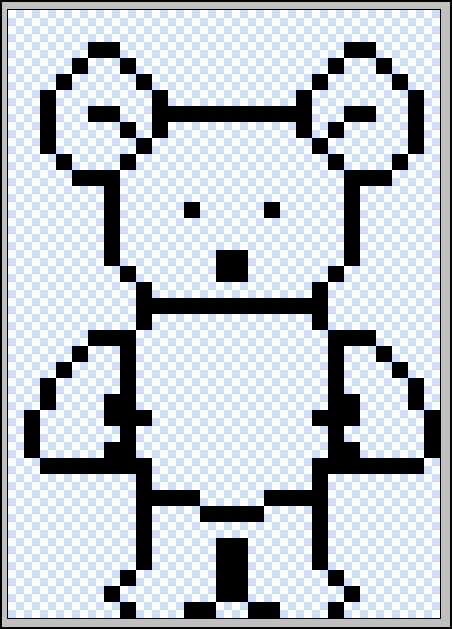 Here's how he looks with the view at 100% (actual size).  |
|
Jen
Creative Chick
Admin
Posts: 8,309
|
Post by Jen on Oct 4, 2009 10:30:51 GMT -6
As for coloring your character there are so many different ways to do it you need to experiment and see what works best for you. It can go from simple solid colors to dithering. Below I just quickly added some flat color and didn't go into any detail with the shading. If your character is symmetrical as my bear is you can focus on one side of your character with your shading. Make sure you put the shading on its own layer. Once you're happy with how it looks make a selection around your character's shading like in reply #10 above. Then make a copy of the shading's layer and flip it horizontally same as I did above with my bear's outline. Then link and merge the two shading layers. The way I work is I have the outline on its own layer and the flat color on its own layer. Then as I add highlights and shading each new step is always put on its own layer. If it looks okay I then link and merge it with the color layer. 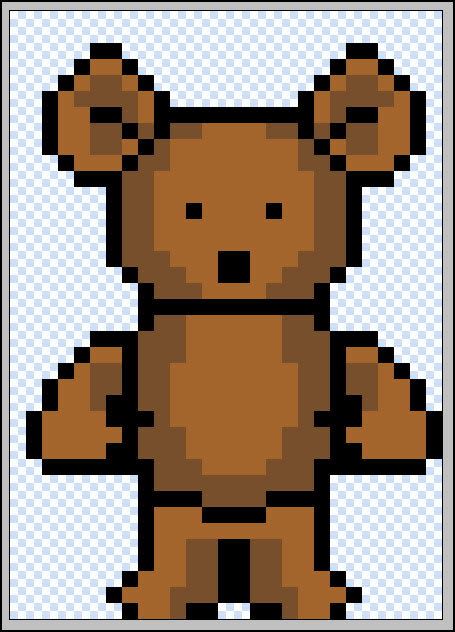 Here's how he looks with the view at 100% (actual size).  |
|
Jen
Creative Chick
Admin
Posts: 8,309
|
Post by Jen on Oct 4, 2009 10:31:18 GMT -6
When you're ready to save your pixel character if needed take the crop tool and drag it around making sure you go right to the edge of your character. Double click inside the bounding box to apply the crop. 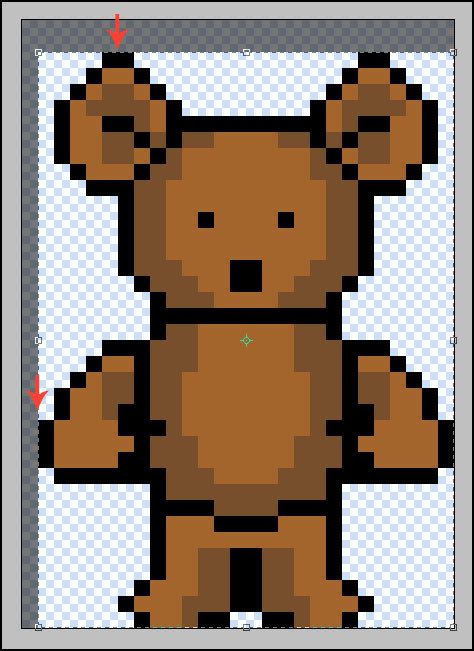 |
|
Jen
Creative Chick
Admin
Posts: 8,309
|
Post by Jen on Oct 4, 2009 10:32:21 GMT -6
Here's my guy ready to save. I added some white to brighten up his eyes. 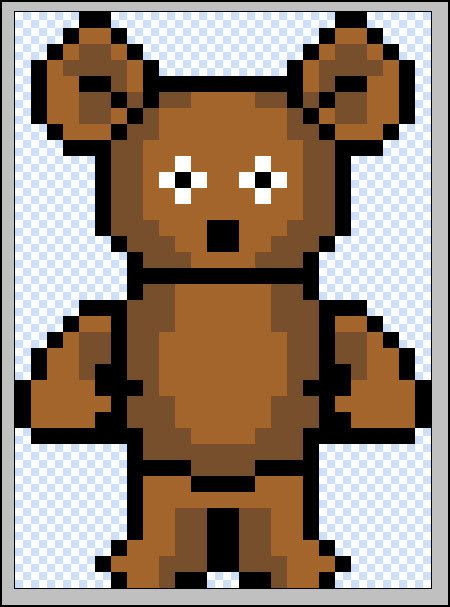 Here's how he looks with the view at 100% (actual size).  Now choose Save For The Web... In the next window choose GIF and use these settings. Make sure the Matte is set to None. The colors that appear in the Color Table will be the colors you used to color your character. 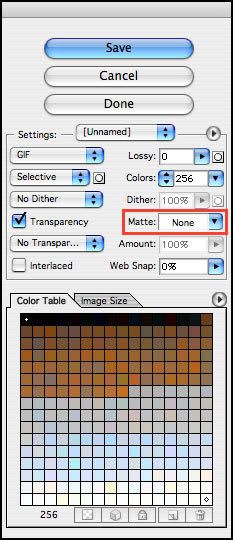 |
|


