Jen
Creative Chick  Admin
Admin
Posts: 8,309 
|
Post by Jen on Oct 1, 2009 13:17:34 GMT -6
This is a simple decorative border you can do a few ways. One way is using the eraser to erase parts of the border. Another is to add a colored background to your siggy and take the brush tool, using the same color as the background, and paint around your border. Both ways will make it look like parts of your border have been removed. If you don't want to use the eraser or brush tool you could also take your lasso tool and make some small rough selections around your signature and delete them. Or you could use any of the custom shapes. For these I used the eraser... This one the eraser was set to brush. I added a white background and saved it as a jpg.  This one the eraser was set to pencil. Notice it has a harder edge. I added a white background and saved it as a jpg. 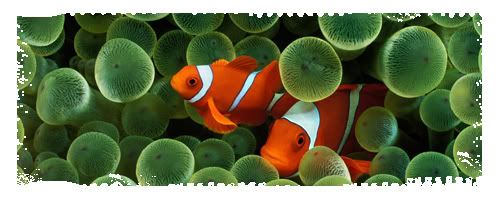 This one the eraser was set to pencil and I saved it as a gif. Another way to save a file with a transparent background is to save it as a PNG-24 file. Saving it this way will allow you to get jpeg quality clarity with your picture and you won't have to worry about the matte color.  This one the eraser was set to brush and I saved it as a gif with the matte set to white.  This one the eraser was set to brush and I saved it as a gif with none set for the matte.  |
|
Jen
Creative Chick
Admin
Posts: 8,309
|
Post by Jen on Oct 1, 2009 13:18:06 GMT -6
All you do is select the eraser tool from the toolbox and then change the mode to either brush or pencil depending on how you want your border to look, purple outline. You can also change the opacity of the brush if you choose, lite blue border. 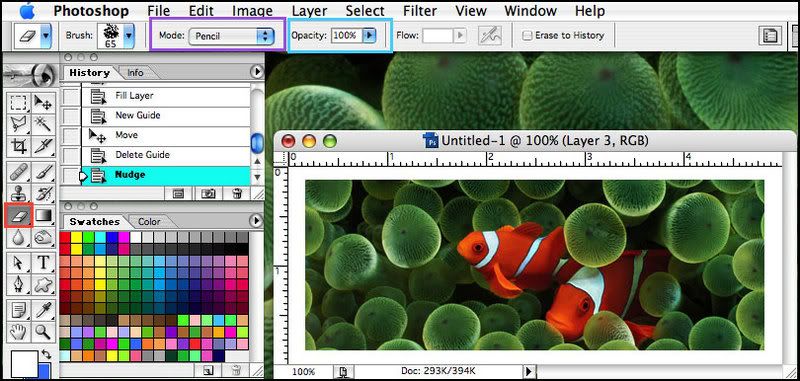 |
|
Jen
Creative Chick
Admin
Posts: 8,309
|
Post by Jen on Oct 1, 2009 13:18:28 GMT -6
Now just select a brush from your brushes palette then click around your border. A trick you can do and what I did is extend your window by grabbing the corner and dragging it, see purple arrow. Notice you now have a grey border. When I used the eraser I actually clicked it in the blue area in the picture below. I only wanted a part of the border to be erased that's why I did it from that distance.  |
|
Jen
Creative Chick
Admin
Posts: 8,309
|
Post by Jen on Oct 1, 2009 13:18:51 GMT -6
Here's how it looked when it was set to brush. You can see the brush gives a softer edge to the sections I erased. 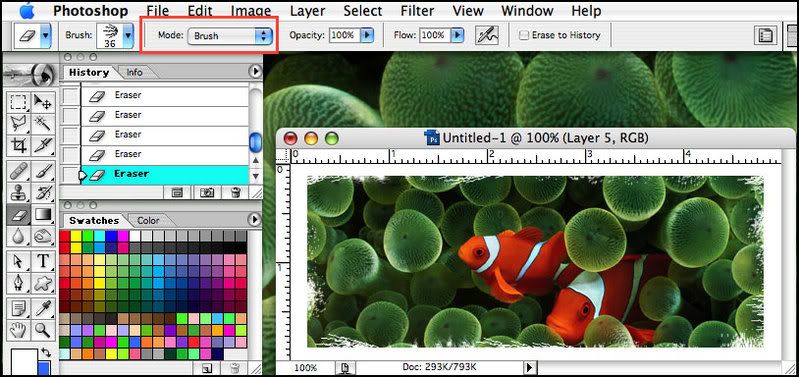 |
|


