Jen
Creative Chick  Admin
Admin
Posts: 8,311 
|
Post by Jen on Oct 30, 2010 12:33:41 GMT -6
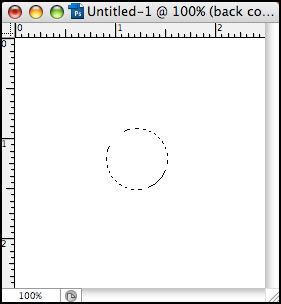
Here's the orb we'll be making.  |
|
Jen
Creative Chick
Admin
Posts: 8,311
|
Post by Jen on Oct 30, 2010 12:34:12 GMT -6
|
|
Jen
Creative Chick
Admin
Posts: 8,311
|
Post by Jen on Oct 30, 2010 12:34:44 GMT -6
Apply an inner shadow to the button layer. Use the settings below. Click on the color box in the Layer Style window. 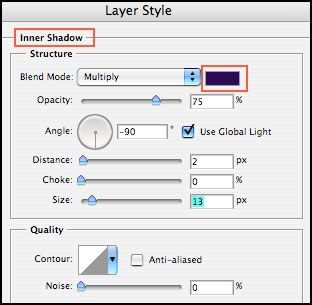 Go to your file and click down on your button. Now in the Select shadow color window click and drag the arrow down to get a darker version of your button's color. 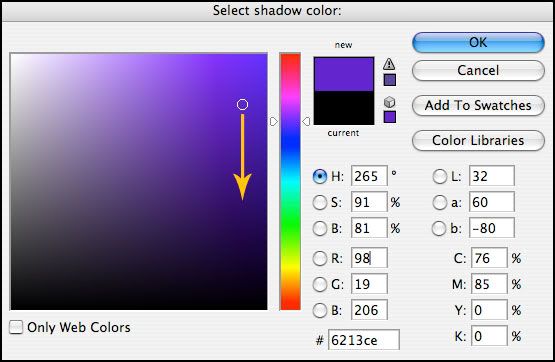 |
|
Jen
Creative Chick
Admin
Posts: 8,311
|
Post by Jen on Oct 30, 2010 12:35:18 GMT -6
Now apply an inner glow effect to the button layer using the settings below. To change the color of the glow click the color box. Use white or a lighter version of your button's color. 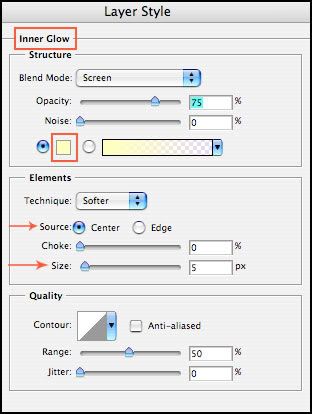 Your glow will look like this after you choose Center. 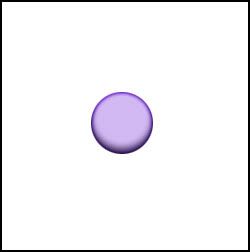 Drag the size slider until it looks like this.  |
|
Jen
Creative Chick
Admin
Posts: 8,311
|
Post by Jen on Oct 30, 2010 12:35:53 GMT -6
Add a new layer and put it at the top of the layers palette. Name Layer 1 shine. Make a selection at the top of your button for the shine. Select the gradient tool and click on the gradient showing in the options bar. Choose the Black, White gradient. Go to the selection and click and drag in the direction of the red arrow below. 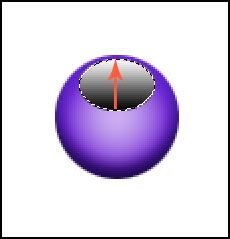 Deselect. Change the blending mode for the shine layer to Screen. You can lower the shine layer's opacity if you choose.  And you're done. To save this button first drag the crop tool around it. Double click inside the bounding box to apply the crop. 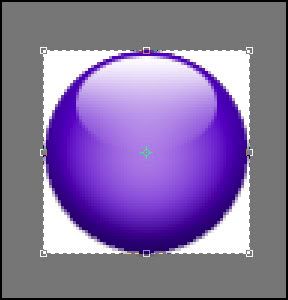 Hide the back color layer. Now use the save as a PNG-24 setting found here, Transparent background without a matte. |
|