Jen
Creative Chick  Admin
Admin
Posts: 8,309 
|
Post by Jen on Oct 27, 2009 14:00:09 GMT -6
Add a new layer and put it at the top of the layers palette. Name this layer dial. Use the elliptical marquee tool to make the outer selection for the dial. Subtract from the selection for the center part. Fill the selection with white. 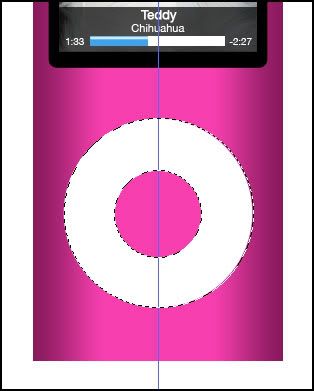 Deselect. |
|
Jen
Creative Chick
Admin
Posts: 8,309
|
Post by Jen on Oct 27, 2009 14:03:59 GMT -6
Use the type tool to add Menu. I used the font Andale Mono.  |
|
Jen
Creative Chick
Admin
Posts: 8,309
|
Post by Jen on Oct 27, 2009 14:18:06 GMT -6
Add a new layer. Make a selection and fill it with grey. 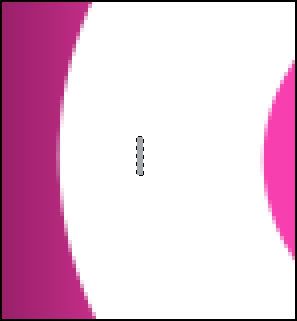 Deselect and add a new layer. Use the custom shape tool with the settings below to make a triangle.  Choose Edit>Transform>Rotate 90° CW. Make a copy of Layer 2. Drag the copy to the right. Link and merge Layer 1, Layer 2 and Layer 2 copy. Name the layer rewind.  Make a copy of the rewind layer. Name the copy fast forward. Choose Edit>Transform>Flip Horizontal. Hold the shift key and use the move tool to drag the fast forward layer to the right. If you need to, you can use a guide to line up the rewind and fast forward icons. 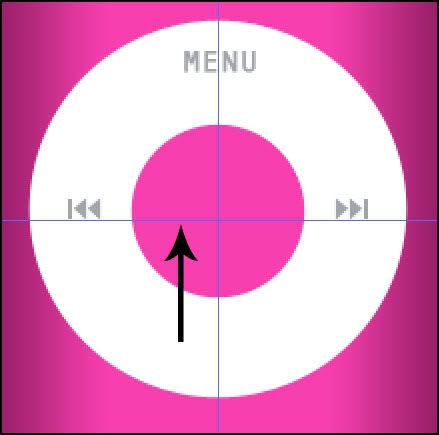 |
|
Jen
Creative Chick
Admin
Posts: 8,309
|
Post by Jen on Oct 27, 2009 14:28:05 GMT -6
Add a new layer. For the play/pause icon use the custom shape tool with the settings below to make a triangle. Choose Edit>Transform>Rotate 90° CCW. Add a new layer. Make a selection for one of the pause bars and fill it with grey. Deselect. Make a copy of Layer 2 and drag it to the right. Link and merge Layer 1, Layer 2 and Layer 2 copy. Name the layer play/pause. 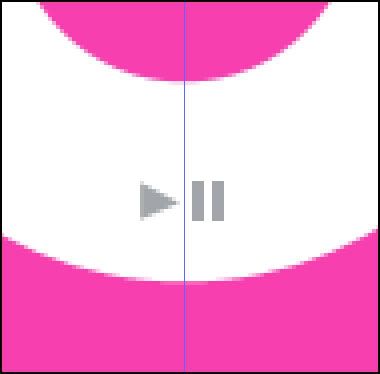 |
|
Jen
Creative Chick
Admin
Posts: 8,309
|
Post by Jen on Oct 27, 2009 14:32:12 GMT -6
Link and merge all the layers except the back color layer. Name the layer ipod. 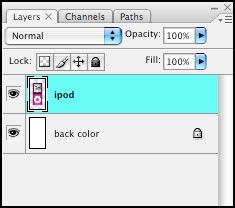 |
|
Jen
Creative Chick
Admin
Posts: 8,309
|
Post by Jen on Oct 27, 2009 14:36:43 GMT -6
Make a copy of the ipod layer. Place the copy under the ipod layer. Click on the ipod copy and choose Edit>Transform>Flip Vertical. Hold the shift key and use the move tool to drag the copy down. 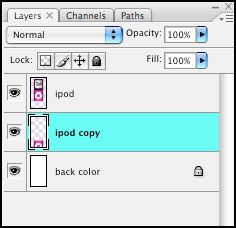 Add a guide and place it where the two ipod layers meet. 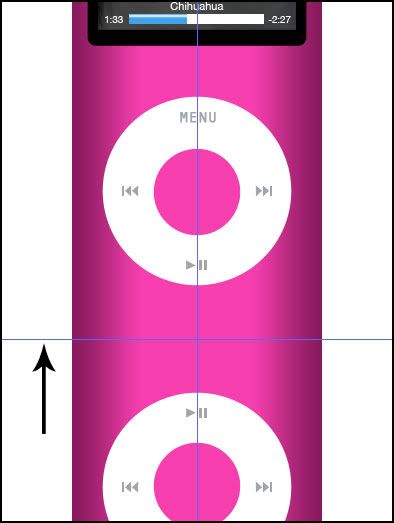 |
|
Jen
Creative Chick
Admin
Posts: 8,309
|
Post by Jen on Oct 27, 2009 14:39:45 GMT -6
Click the Quick Mask Mode button in the toolbox.  |
|
Jen
Creative Chick
Admin
Posts: 8,309
|
Post by Jen on Oct 27, 2009 14:41:40 GMT -6
Choose the gradient tool. Click on the grad showing in the options bar and select the Black, White gradient. With the ipod copy as the active layer click and drag from the bottom of your file to where the guide is and release. 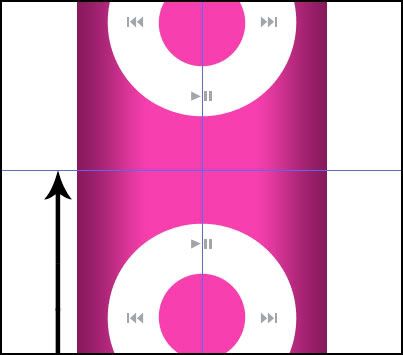 When you do you'll see a slight red coloring in your file. 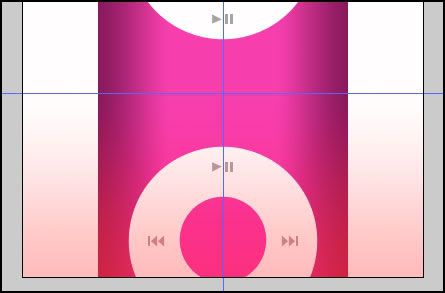 |
|
Jen
Creative Chick
Admin
Posts: 8,309
|
Post by Jen on Oct 27, 2009 14:44:15 GMT -6
Click the Quick Mask Mode button to leave QMM. You'll see a selection in your file. Choose Layer>New>Layer via Copy. Set the opacity for Layer 1 to 30%. Hide the ipod copy layer. 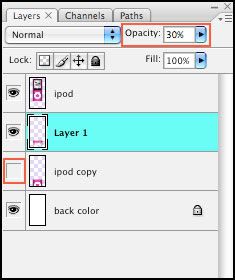 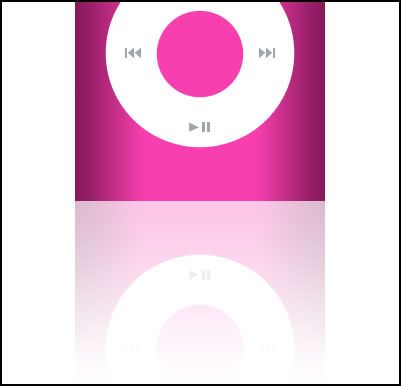 |
|
Jen
Creative Chick
Admin
Posts: 8,309
|
Post by Jen on Oct 27, 2009 14:50:12 GMT -6
Name Layer 1 reflection. Throw away the ipod copy layer. 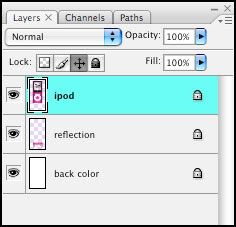 And you're done. To save this signature with a colored background use the save as a jpg in Photoshop setting found here, My settings. To save the iPod with a transparent background first hide the back color layer. Then use the save as a PNG-24 setting found here, Transparent background without a matte. |
|


